You record a two-minute walkthrough on a 1440p display. It looks fine on your monitor. Then someone opens it in a Slack preview pane on a laptop, and the thing you spent the whole video pointing at — a settings toggle, a line in a stack trace, a field in a form — is eight pixels tall.
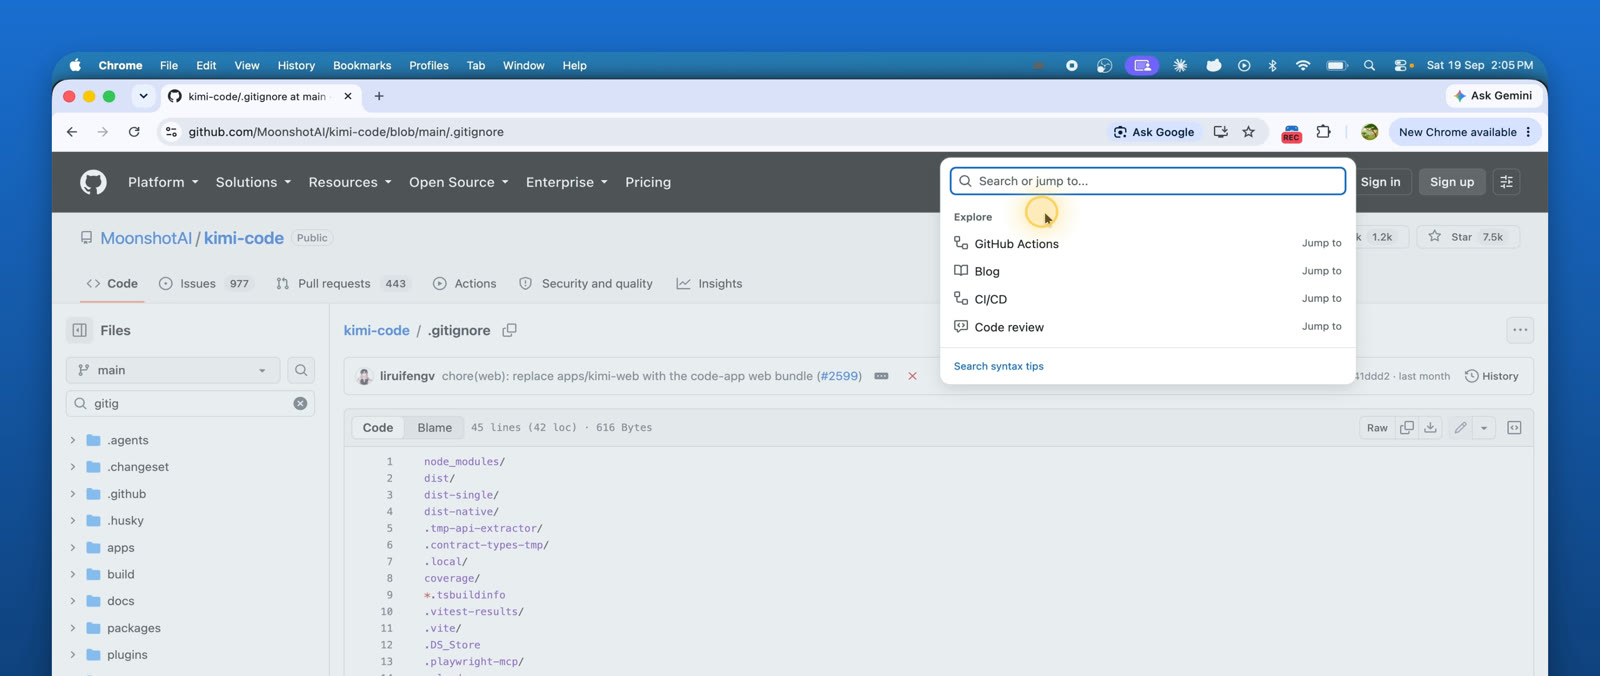
The fix is to zoom into whatever you are clicking. There are three ways to do that, and they cost very different amounts of your time.
1. Zoom afterwards, in an editor
Record flat, then add zoom keyframes in DaVinci Resolve, Premiere, Final Cut or CapCut. Scale up at the moment of the click, hold, scale back down.
This gives you the most control. It is also the reason people stop making walkthroughs. A five-minute recording with a dozen clicks worth zooming into is twenty-odd keyframes to place, each needing an in point, an out point and an easing curve. Get one wrong and the frame drifts off the thing you were pointing at. Re-record a step and you redo the keyframes for everything after it.
Worth it for a launch video. Not worth it for a bug report you need to send in the next ten minutes.
2. Zoom your operating system while you record
Both major desktop platforms can magnify the screen live, and a recorder will capture whatever is on screen:
- macOS — System Settings, Accessibility, Zoom. Turn on "Use scroll gesture with modifier keys to zoom", then hold
Controland scroll. - Windows — Magnifier,
Winand+. Set it to follow the mouse pointer.
Free, already installed, nothing to learn. Two real drawbacks though.
It is baked into the recording. The zoom is part of the captured pixels, so if you zoomed too far, or held it too long, or the pointer-following jittered, the only fix is to record again.
And you are operating it live. You now have two jobs during the take: doing the thing you are demonstrating, and driving a magnifier. It shows. Accessibility zoom follows the pointer literally, so small hand movements become camera movements, and the result reads as shaky rather than deliberate.
3. Zoom automatically, on the click
The third option is to let the recorder do it: you click, it zooms to where you clicked, follows your cursor, and eases back out. Nothing to drive during the take and nothing to keyframe afterwards.
This is what Klarvane Record does. It is a Chrome extension. While you are recording, triple-click anywhere and the camera pushes in to that point at 1.4×, pans with your cursor, then eases out.
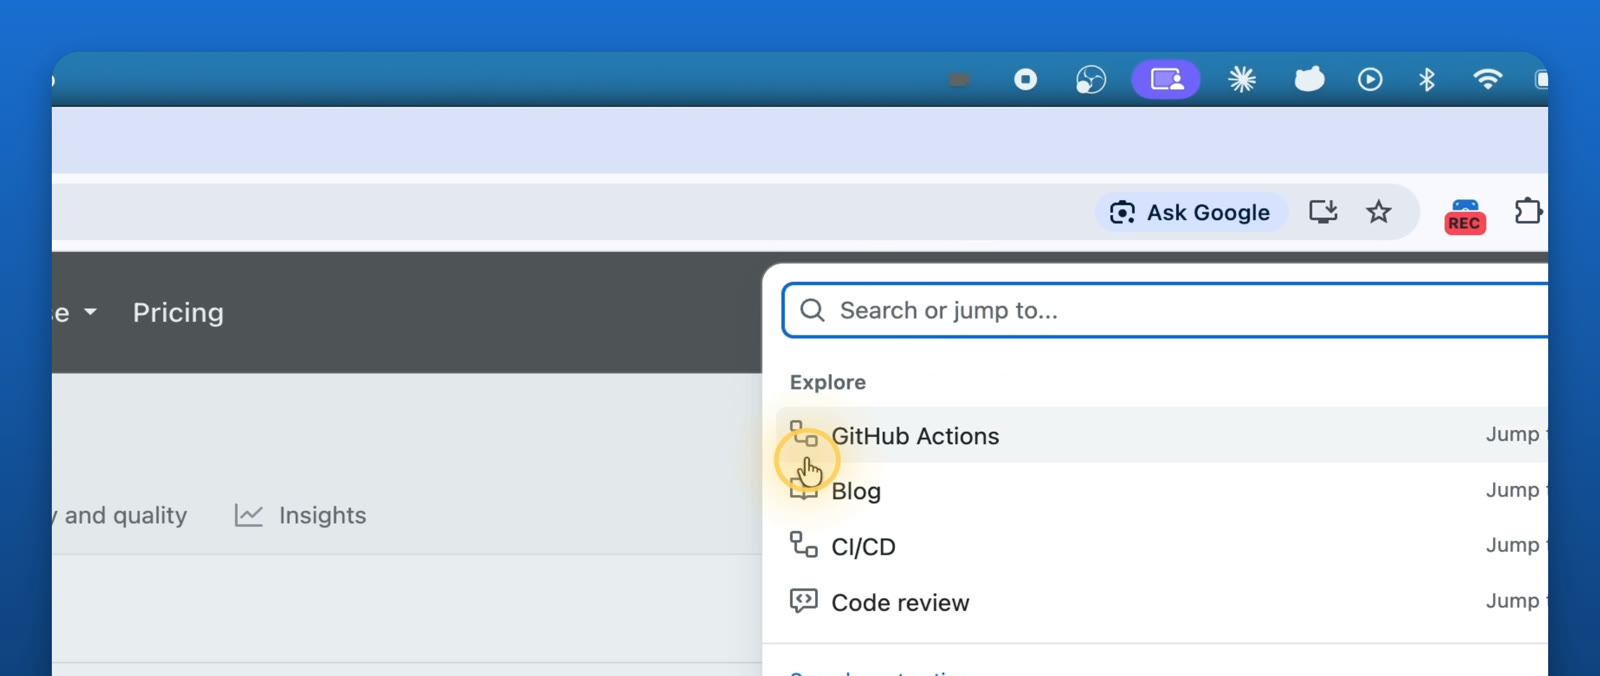
Triple-click rather than double-click, because double-click already means something everywhere — select a word, open a file, expand a row. A gesture that fights the software you are demonstrating is not usable. Triple-click is close to unused outside of text selection, so it is free to take.
By default the zoom follows your cursor inside the browser tab you are recording. If you need it to follow you across your whole desktop — a terminal, an IDE, a native app — there is a free Desktop Helper for macOS, Windows and Linux that extends it beyond the tab. No account needed for it.
Doing it
- Install Klarvane Record from the Chrome Web Store. Chrome 116 or newer, on macOS, Windows or Linux.
- Hit record. No account needed.
- Triple-click on whatever you want the viewer to look at. Carry on working — the zoom follows your cursor and eases out on its own.
- Stop, trim anything you do not want in the built-in editor, and export MP4, WebM or GIF.
You can also edit the zoom timeline afterwards if a zoom landed somewhere you did not want it, so an automatic zoom is a starting point rather than a commitment.
Which one to use
| Editor keyframes | OS magnifier | Auto-zoom on click | |
|---|---|---|---|
| Time after recording | High | None | None |
| Control during take | None needed | You drive it live | None needed |
| Fixable afterwards | Yes | No, it is baked in | Yes, editable timeline |
| Steadiness | Exactly what you set | Follows the pointer literally | Eased, follows the cursor |
| Cost | Editor, and the hour | Free | Free plan, 5 min cap |
If you make one polished video a quarter, keyframes are fine. If you make short explanations often — bug reports, PR walkthroughs, answering a support ticket with a clip — the time is the whole argument.
Questions people ask
Does this work outside Chrome?
The extension records inside Chrome on desktop. The free Desktop Helper lets the zoom follow your cursor across other applications. There is no Safari or Firefox version, and no mobile version.
Is the free plan actually usable?
Yes, with two limits worth knowing before you start: recordings are capped at five minutes, and exports are 1080p with a watermark. The auto-zoom itself is not limited — it works the same on both plans, at 1.4×.
What does Pro change?
Unlimited recording length, a zoom level you choose between 1.2× and 2.5×, 4K export with no watermark, a keyboard shortcut for the zoom, and control over the webcam overlay. Prices are on the pricing page.
Do my recordings get uploaded anywhere?
No. Capture, compositing and encoding all happen locally in your browser, and the finished file is saved by you. There is no cloud copy.
Can I change a zoom after recording?
Yes. The built-in editor exposes the zoom timeline, so you can move, shorten or remove a zoom that landed badly, and trim or cut the recording itself.